
Connection Design Tutorials
Descon Tutorial 1 – Forms & Checkboxes
Let’s design a basic beam to column configuration. For this configuration, enter the column first. Let’s use a wide flange column. Here’s the list of sections. Recently used options can be found at the top of the list, or the section can always be typed instead. Hit enter, and the column will be added to the design. Let’s change this to the column web.
Continuing to the beam, notice that this left panel just updated to the beam information. Let’s use a beam size that was recently used. The shear is automatically added, using design defaults. (You can modify those defaults in “General Settings”.) Selecting a connection element in the drawing will highlight that same element in all of the drawing views.
Let’s change the shear to a single plate, and add a moment. The drawing views can be zoomed in, out, and panned. Right-click a connection element for short-cut tools. Select the shear form from that menu, or double-click the plate. This form has a tab for each element of the connection, giving access to the design details.
Descon allows most of a design to be customized by the engineer. These checkboxes are a way to lock values or dimensions. Whenever an edit is made, that checkbox will be selected. Click “Apply” to see the updated design without closing the form, or “Ok” to also close the form. Whenever an edit is applied, the calculations and drawing are updated. This allows any conflicts to be seen right away, and also updates the number of no-goods and the overall capacity gauge.
Let’s see how this looks in the 3D model. Clearly, this number of bolts doesn’t fit on the beam. To undo the edit, simply open the form and deselect the checkbox.
As much as possible, Descon gives the engineer control of the exact design. The drawings reflect the design rather than being simply generic sketches, and Descon continuously checks the calculations. The goal is speed and accuracy.
Descon Tutorial 2 – Editing a Design – Gusset Plates
Starting with the column, let’s use an HSS shape. Next, the beam is added. And for the brace, let’s use a double channel. Add the brace forces. For now, let’s deselect the right, left and top drawing views. (You can also right-click on a view to deselect all other views.)
Let’s add a left beam and brace, as well. Notice that right-clicking on the drawing opens a list of shortcut tools. Select “Copy To” then “Upper Left Brace”.
Notice that the beam and brace were designed without needing to specifically enter the single plates. This is because of design shortcuts (that can be changed). The brace was automatically designed to match the beam, and the beam was automatically designed using default settings in “General Settings”.
To square the gusset plate, right-click on the gusset plate and select “Square Corners”. Now the right and left gusset plates are different shapes.
To edit other dimensions, double-click the gusset plate. Or select “Brace Data” in the left panel. Here are the 2 dimensions that were edited when squaring the corners. Let’s say the distance from the work point to the end of brace needs to be edited, but it’s grayed-out right now. This is because of the previous edits. Undoing the edits will allow that field to be edited.
Apply this edit to immediately update the drawing and the calculations. Now square the corners again. And edit the corner offset.
As you can see, no other edits can be made right now. This is to preserve correct geometry. Undoing the edits in the order that they were entered allows the fields to be edited again.
Here’s a diagram of the gusset dimensions. Select a dimension to highlight the diagram.
Let’s cancel all edits that were entered on this form and so step back to when the corners had been squared using the shortcut. The shortcut can also undo this edit.
Descon allows gusset plates to be quickly edited to exact dimensions, accomplishing speed and accuracy at the same time.
Descon Tutorial 3 – Navigating the Report
Let’s start with a beam to girder design that has been customized. There are a total of 3 no-goods. The overall capacity gauge will also have an alert about the no-goods. Selecting this will expand a panel with the capacity checks from the report.
(For an overview, right-click on a member and choose to collapse all. Let’s expand one. Keep in mind that some no-goods such as dimensional checks won’t be called-out in this panel; however, they would be included in the report total.)
Hovering over a line will display the capacity value. This value can also be included by changing the setting in “Tools”, then “UI Settings”. Select, “Display Gauges as Numbers”, and “Apply”. Notice the update in this list. Let’s cancel that change.
Selecting any line in this panel will jump to that section in the report. Selecting a capacity check will jump to the calculation, which also provides a shortcut for finding no-goods. Open or close this panel at any time.
Another shortcut for finding no-goods is this option to go to the next no-good.
Right-clicking in the report allows lines to be highlighted and comments to be added.
When the report is open, the design can still be accessed using the left panel, and switching between the members here. Selecting “Beam Data” will open the design details, just as when the drawing is open. Watch as this no-good is resolved by undoing a user-edited value, which allows Descon to auto-design a working value. Notice there are now only 2 no-goods.
Any highlighted or commented lines can be jumped to.
This will jump to the top of the report.
And this will search the report for a keyword.
The many tools for navigating the report in Descon, along with the transparent style of the calculations, allows for both speed and accuracy.
Descon Tutorial 4 – Entering Report Settings
Go to “Tools” and open “Report Settings”. This form has 2 tabs: settings for the current file, and settings for new files. Let’s start with settings for new files.
This section is about the font and the file format.
This setting determines whether the selected drawing views are combined onto 1 page or are on separate pages.
This controls whether the calculations are in 1 column or 2.
This changes the report from detailed (which includes the calculation steps) or concise.
Upload your company logo here.
This header information will be applied to new files.
Let’s close this form and design a new file to see the report.
Open the report tab, and notice that the header information is here: project name, number, and engineer. (The page numbers will only appear on the actual PDF.) There are currently 2 drawing views selected and they will be combined onto 1 page when printed. Add more drawing views here.
Let’s say the report needs to be different for this file. Open “Report Settings”, this time using the tab for the current file. Let’s deselect the combined drawing views, add calculations in 2 columns, change the report to concise, and update the header wording.
The project name and number are updated, the drawing views will print on separate pages, and the report is now concise (which only includes the design checks).
Now open a new file to go back to the original settings. The wording, drawings, and detailed format are back to the settings for new files. (The calculations will only be displayed in 2 columns on the actual PDF.)
Descon automatically arranges the callouts and dimensions, focused on being legible and compact. However, if any modifications are needed, simply open the drawing tab just before printing and drag the dimension or callout. The arrow can also be moved and will always be pointing to the correct connection element.
Descon has many formatting options for the report, allowing the engineer to present the calculations with speed and accuracy.
- 1
- 2
- 3
- 4
Set up a Descon account. Once the purchase is finalized, the registered users will receive download and installation instructions. The instructions will be sent during our office hours (8-5pm CST/CDT Mon-Fri).
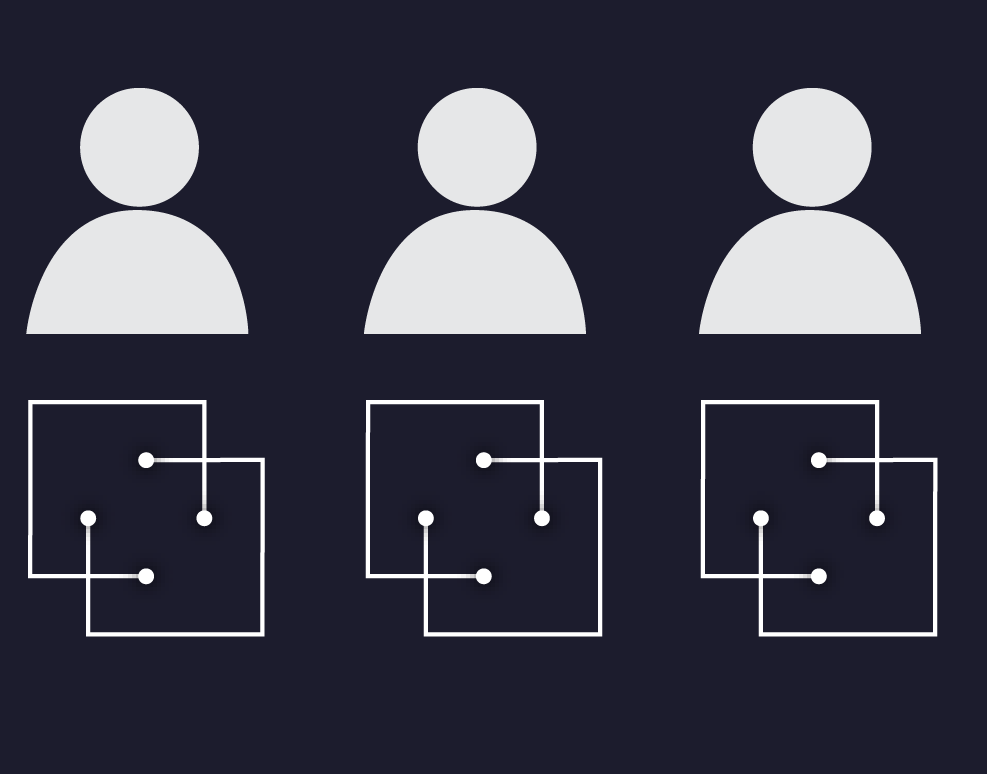
All of Descon’s software licensing is priced per seat. One seat allows one user access to Descon software for the duration of the chosen plan. New with Descon 8, additional users that will share a seat can be added as part of an Annual Maintenance Plan (AMP) for a minimal annual addition. The number of seats controls the number of concurrent users. An example of how this would be used in the workplace:
3 users accessing the software,
1 at a time = 1 seat + 2 additional users.

3 users accessing the software,
all at the same time = 3 seats
Registered users will receive an email with detailed instructions to download, install and login. Once your users have installed the software, they will login using their unique information. After that, Descon is ready to use and connection designs are just a few clicks away. Users can start by looking for the Quick Start guide in the software.
All registered users are able to submit support tickets. Support is provided directly by our development team. Registered users can contact our support team directly within the software, using the feedback button. Responses will be given as soon as possible during our office hours.